Wise Old Owl Diaper Cake
A Wise Old Owl nursery rhyme made a great theme for a baby girl diaper cake. I easily found baby girl items related to owls at several stores in their infant departments.
I chose a slightly modified version of a wrapped diaper cake to create this perfect baby girl gift.
I utilized a set of tiered cake pans to help me with sizing the widths of each cake tier. All the while actually wrapping the diapers around a large pink bottle of baby lotion.
But first lets talk about the basic cake ingredients I used for this particular diaper cake.
Diaper Cake Ingredients
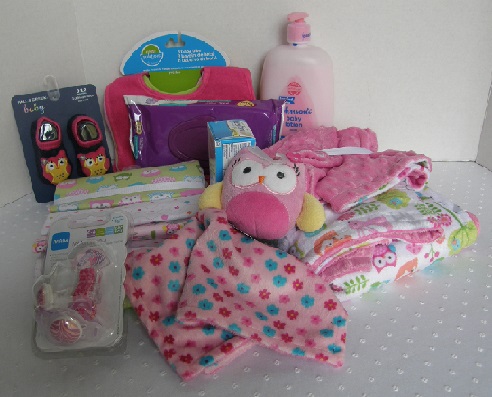
- About 60-65 size 1 Pampers (you can use any brand you prefer)
- 1 12" round cardboard cake plate
- 4 owl themed receiving blankets with coordinating prints and colors
- 1 large velour baby blanket that was part of the coordinating theme
- 1 pink pacifier with matching clip
- 1 package of baby wipes
- 1 package of Desitin
- 1 large bottle of baby lotion
- 1 pair of infant booties with owl faces
- 1 stuffed owl with attached soft printed coordinated cloth
- 1 roll of white curly ribbon
- 2 rolls of pink polka dot fabric ribbbon
- 8 solid colored infant bibs
- 1 set of tiered cake pans in sizes 10", 8'' and 6"
- 3 large rubber bands
- hot glue gun and glue sticks
You can select all sorts of diaper cake ingredients depending on the theme of your cake, the gender of the baby, the mother's specific needs even the depth of your pocketbook.
You're only limited by your own imagination and the amount you wish to spend on the cake.
Assembling the Cake Layers
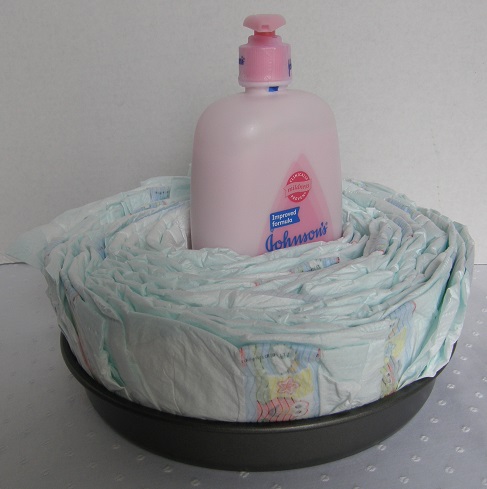
Once you have all your ingredients and necessary tools assembled, it's time to begin mixing up your ingredients.
I set the large bottle of baby lotion in the center of the 10" cake pan.
Then taking one diaper at a time, I started wrapping the bottle with layers of disposable diapers.
Once my bottom layer filled the empty cake pan, I placed a large rubber band around the diapers to hold them all in place.
I then started wrapping diapers around the top half of the baby lotion bottle to create the second tier of the cake.
I used the 8" cake pan to assist in determining how large to make the second tier. I placed a rubber band around the second tier to hold it in place.
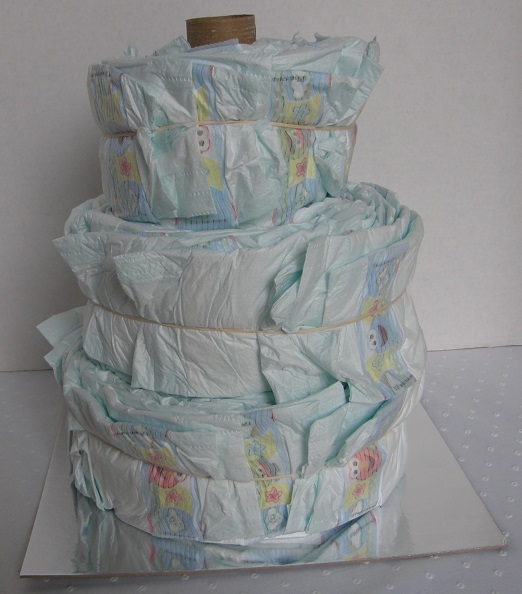
Finally, for the third tier, there was only the very top of the pump for the bottle of baby lotion protruding from the second tier.
So I cut a piece of cardboard tube from an empty paper towel roll to use a the center for the top layer.
I set the tube in the middle of the 6" cake pan and wrapped the diapers around the cardboard tube.
When finished, I again secured the top tier with a rubber band.
Then I placed the top tier with the cardboard tube on the top to be sure it would sit well.
Icing on the Cake!
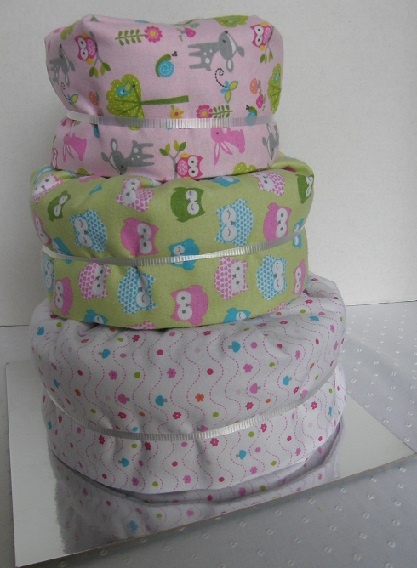
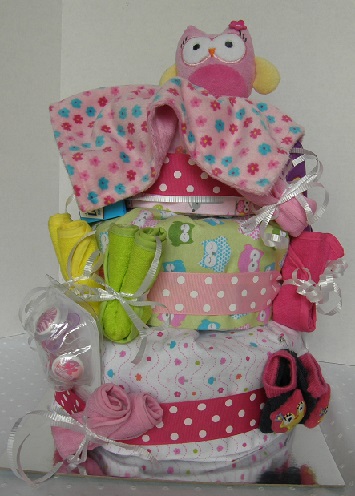
I happen to love the look of an "iced" diaper cake. So I took the receiving blankets, folded them in half, then wrapped them around each layer of the diaper cake.
I used a piece of the curly ribbon tied around the blankets to secure them in place. Each blanket was folded over the top of the tier and tucked into place.
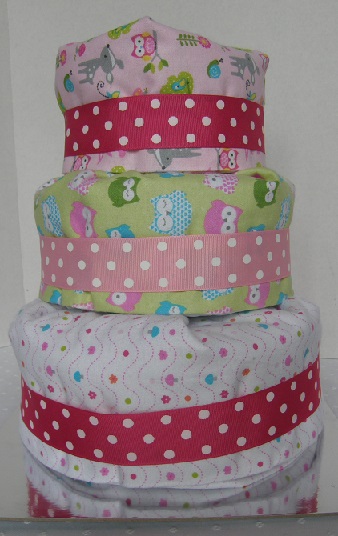
Each "iced" tier of the cake was then wrapped with the polka dot ribbons.
Hot glue was used to secure the ends of the ribbon for neat and clean look.
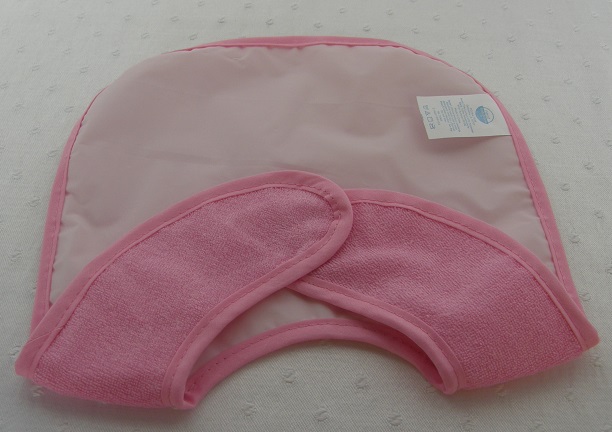
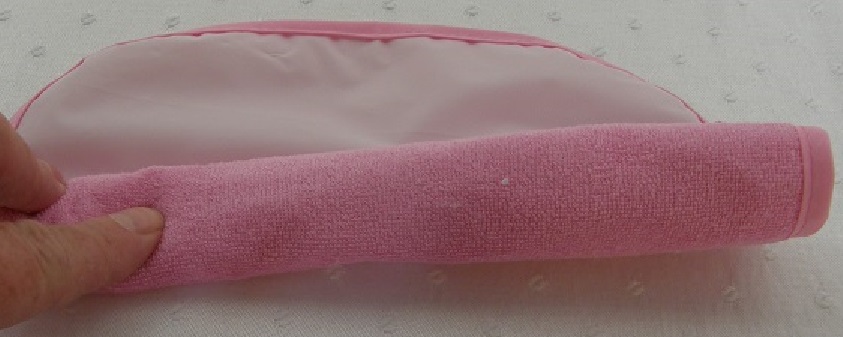
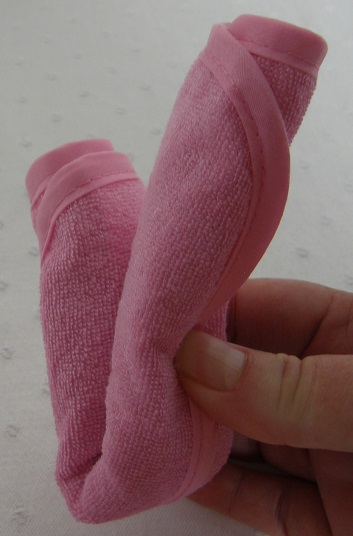
I used the bibs to create little flowers to decorate the cake. I folded the bibs with the solid colors on the outside then folded them in half.
 |
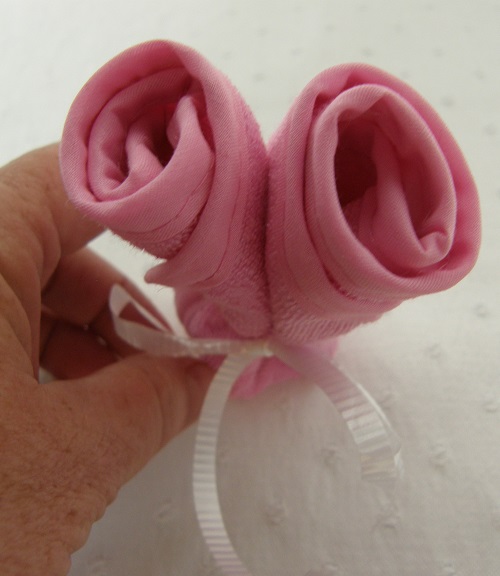 |
This creates the image of a tight blooming flowerbud. Strips of curling ribbon were used to tie the folded bibs.
This created the look of two buds blooming.
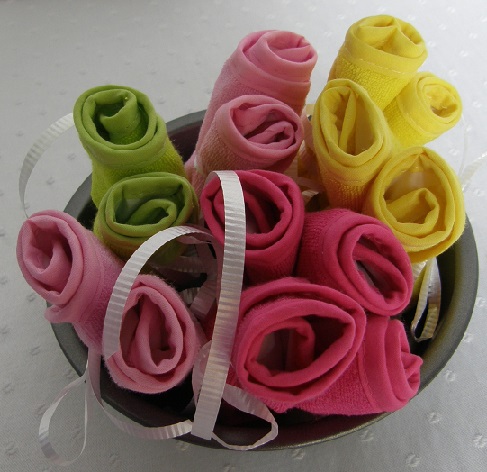
I then placed the roses in various places around the cake. Using more of the white curling ribbon, I tied them to the larger polka dot ribbon to hold them in place.
I pinned the little owl booties to the polka dot ribbon and tucked the pacifier package behind the ribbon. A little hot glue helped to hold the pacifier package in place.
The box of Desitin was hot glued to the polka dot ribbon.
I was careful to only use the hot glue on the ribbon so I wouldn't risk damaging the receiving blanket icing!
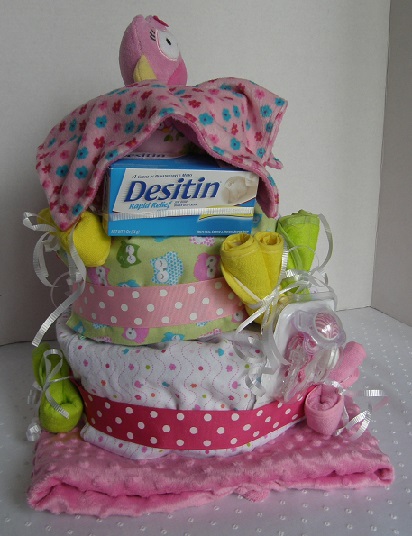
I used a round 10" cardboard cake plate and covered it with another soft velour blanket that was part of the set I had purchased.
The blanket was folded in thirds then folded around the cake plate and pinned into place with large diaper pins.
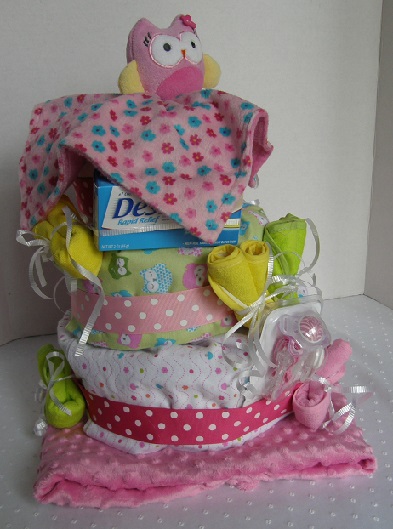
I found an adorable stuffed owl with an attached blankie to use as the cake topper! Perfect!
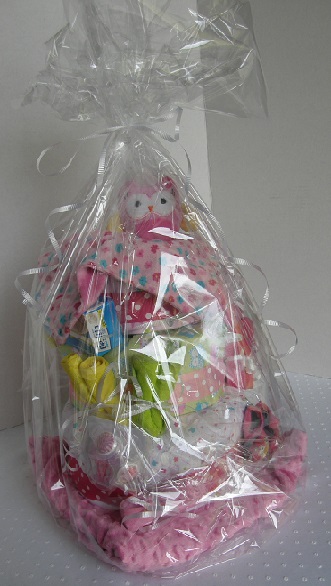
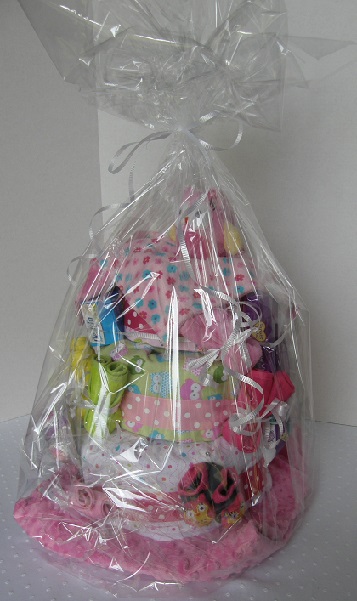
When I was satisified with the finished product, I wrapped the entire diaper cake in clear cellophane wrap and tied with ribbon!
Share your creative diaper cake recipe with us!
Have you created your own unique and delectable diaper cake recipe?
Share your wonderful creation with the us and get even more of those well deserved "ooohhh's" and "aaahhhh's".
Not only will you be sharing your creative genius with lots of women in the world, you will automatically be entered in our Diaper Cake of the Month contest.
Diaper Cake Ingredients - basics needed to "bake" your cake!
Candlestick Diaper Cakes - the most popular style of diaper cake!
Square Diaper Cakes - easy as pie to create this wonderful cake!
Wrapped Diaper Cakes - simple as it sounds!
Nursery Rhyme Diaper Cakes - nursery rhymes are perfect themes!
Diaper Cake of the Month - a fun creativity contest!
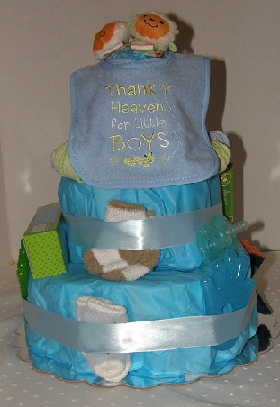
What Are Little Boys Made Of Diaper Cake - adorable for a baby boyl!
Like us on Facebook! Tell your friends about us!
Made for Cuddles
Shop for Handcrafted Baby Gifts
Diaper Cake of the Month Contest
Do not miss the new stuff!
Sign up for our newsletter!
